DevExtreme React - Create a DevExtreme-powered Website/Application with Gatsby
Gatsby is a market-leading static website generator. It is an opinionated library with numerous built-in capabilities including optional server-side rendering and GraphQL support.
This help topic details the use of DevExtreme UI components alongside the Gatsby framework.
1. Create an Empty Gatsby Website
Install the gatsby-cli npm package. This command line tool generates, builds, and deploys Gatsby websites.
npm install -g gatsby-cli
Launch the Gatsby wizard to generate a new website:
gatsby new
Launch the development server to display a live preview of the website:
cd my-website
gatsby develop

The framework outputs the URL to the command line. Click the link to open it in the browser:
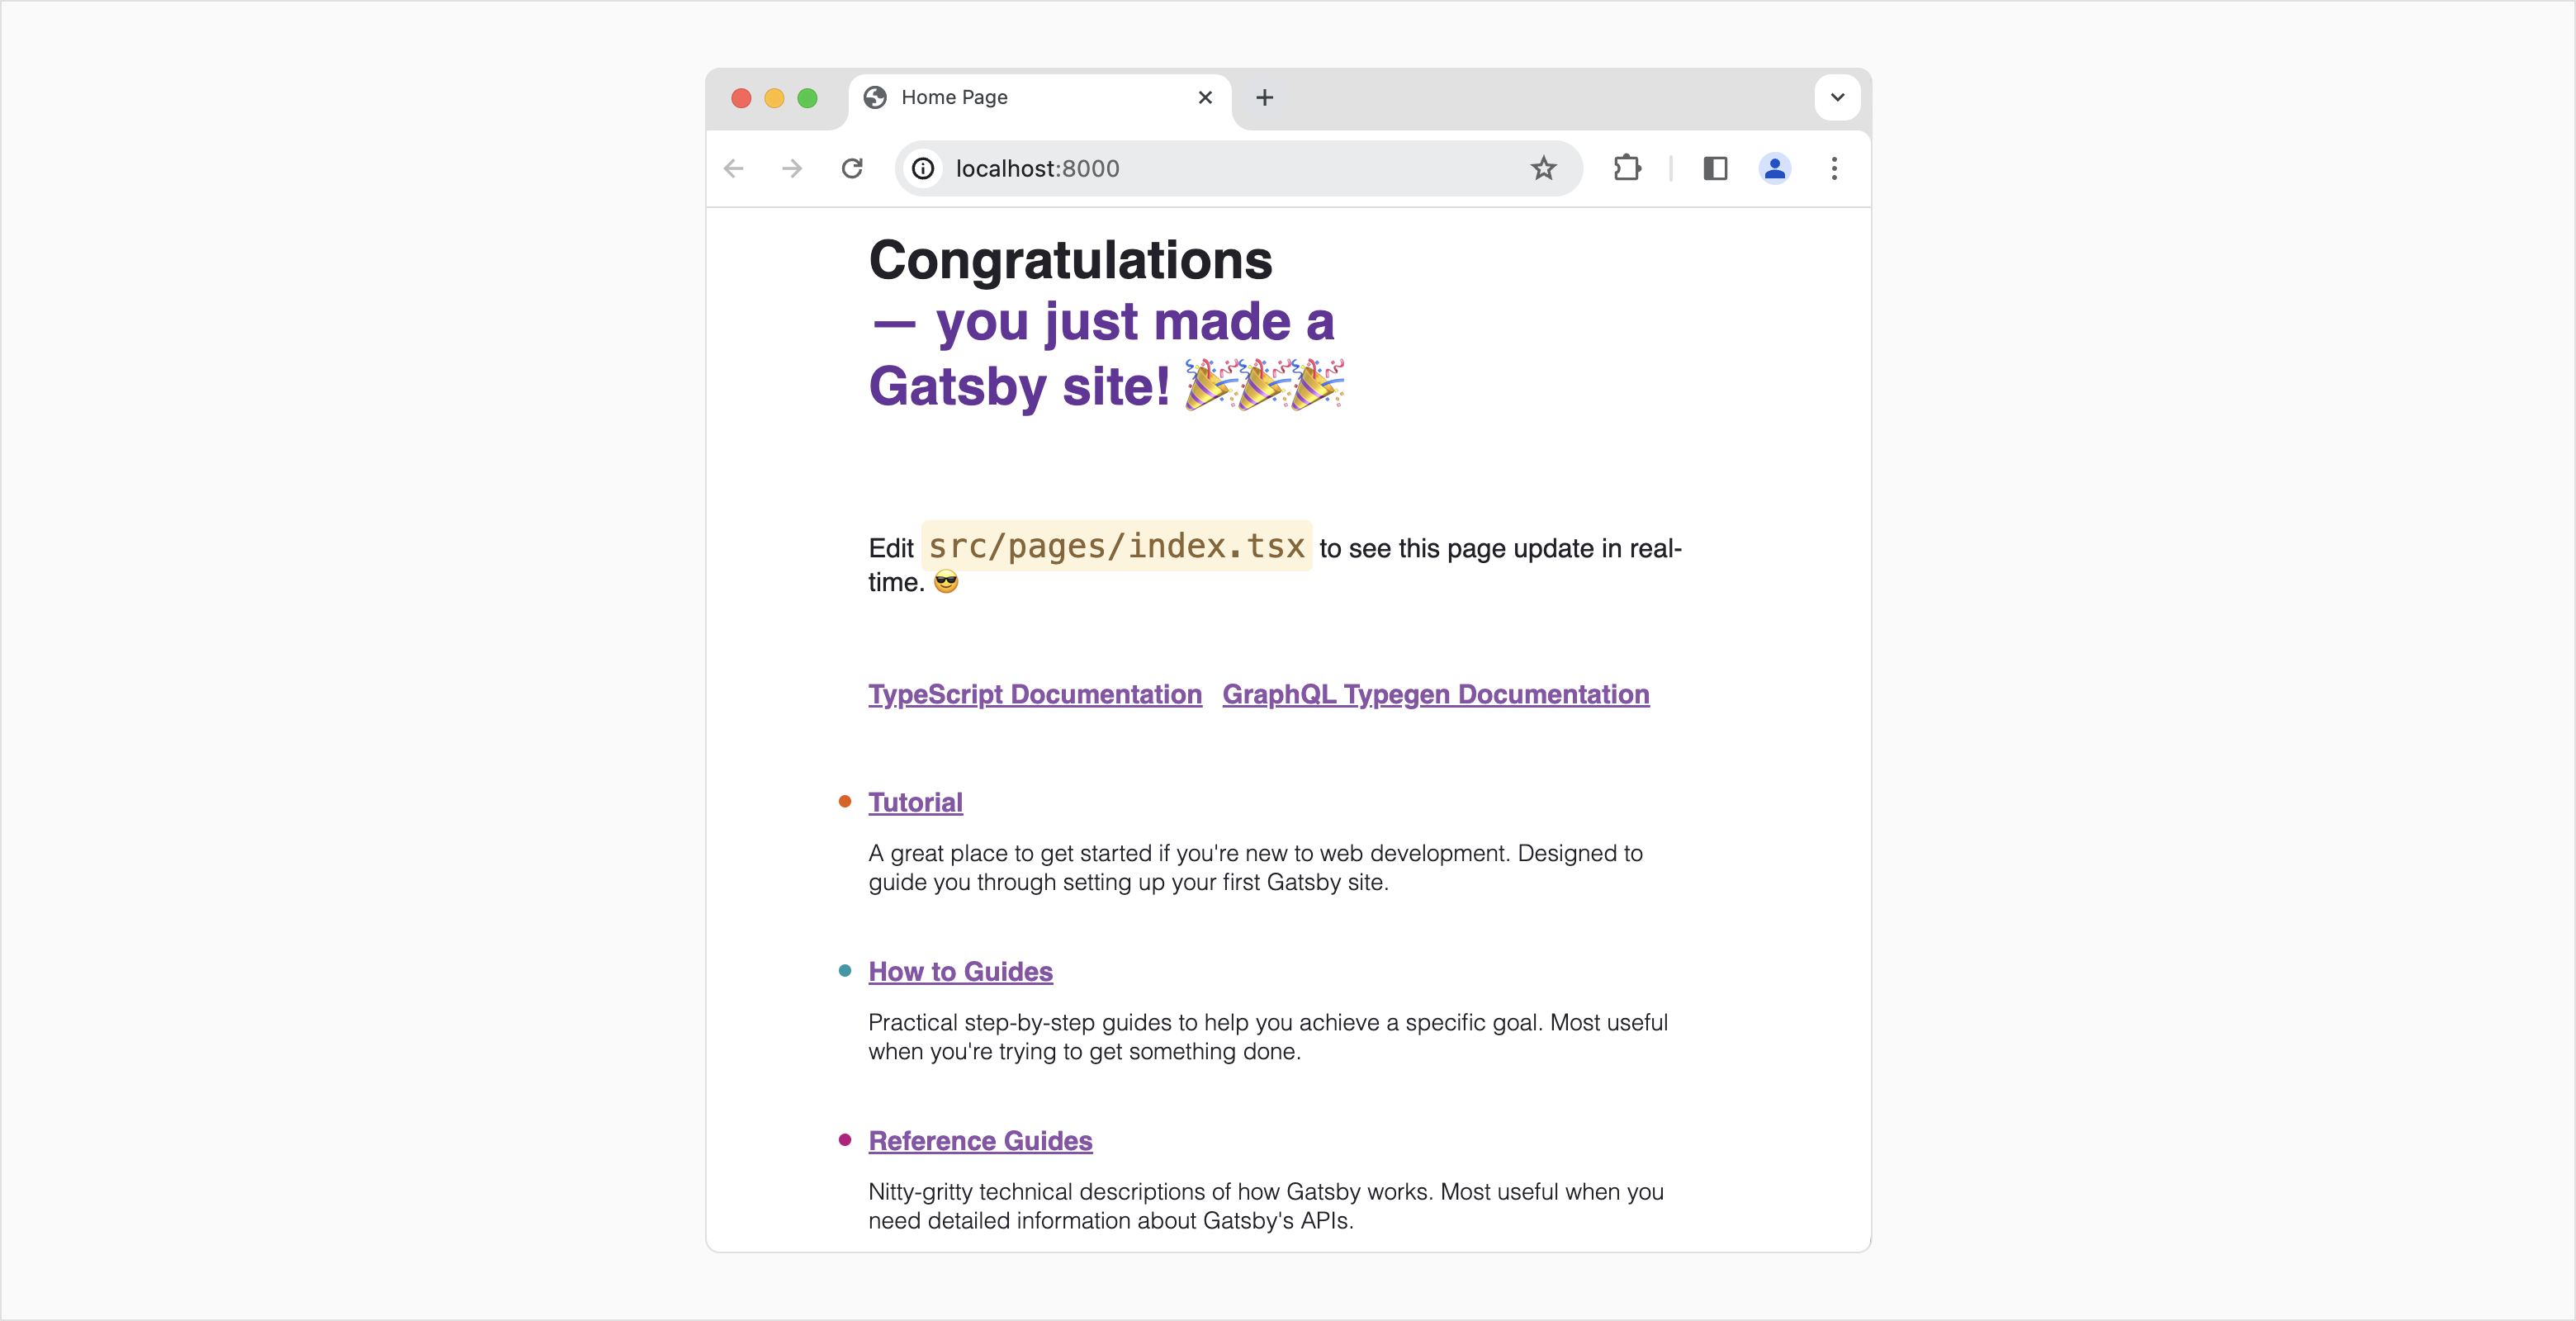
For an in-depth Gatsby walkthrough, refer to the following external webpage: Part 1: Create and Deploy Your First Gatsby Site | Gatsby (gatsbyjs.com).
2. Add Static Content
Gatsby uses React to render content. Edit the src/pages/index.tsx file to change the home page:
import * as React from "react";
import type { HeadFC, PageProps } from "gatsby";
const IndexPage: React.FC<PageProps> = () => {
return (<main>
<h1>Main Page</h1>
<p>
Lorem ipsum dolor sit amet, consectetur adipiscing elit, sed do eiusmod tempor incididunt
ut labore et dolore magna aliqua. Ut enim ad minim veniam, quis nostrud exercitation ullamco
laboris nisi ut aliquip ex ea commodo consequat. Duis aute irure dolor in reprehenderit in
voluptate velit esse cillum dolore eu fugiat nulla pariatur. Excepteur sint occaecat cupidatat
non proident, sunt in culpa qui officia deserunt mollit anim id est laborum.
</p>
</main>)
}
export default IndexPage
export const Head: HeadFC = () => {
return (
<>
<title>Home Page</title>
</>
)
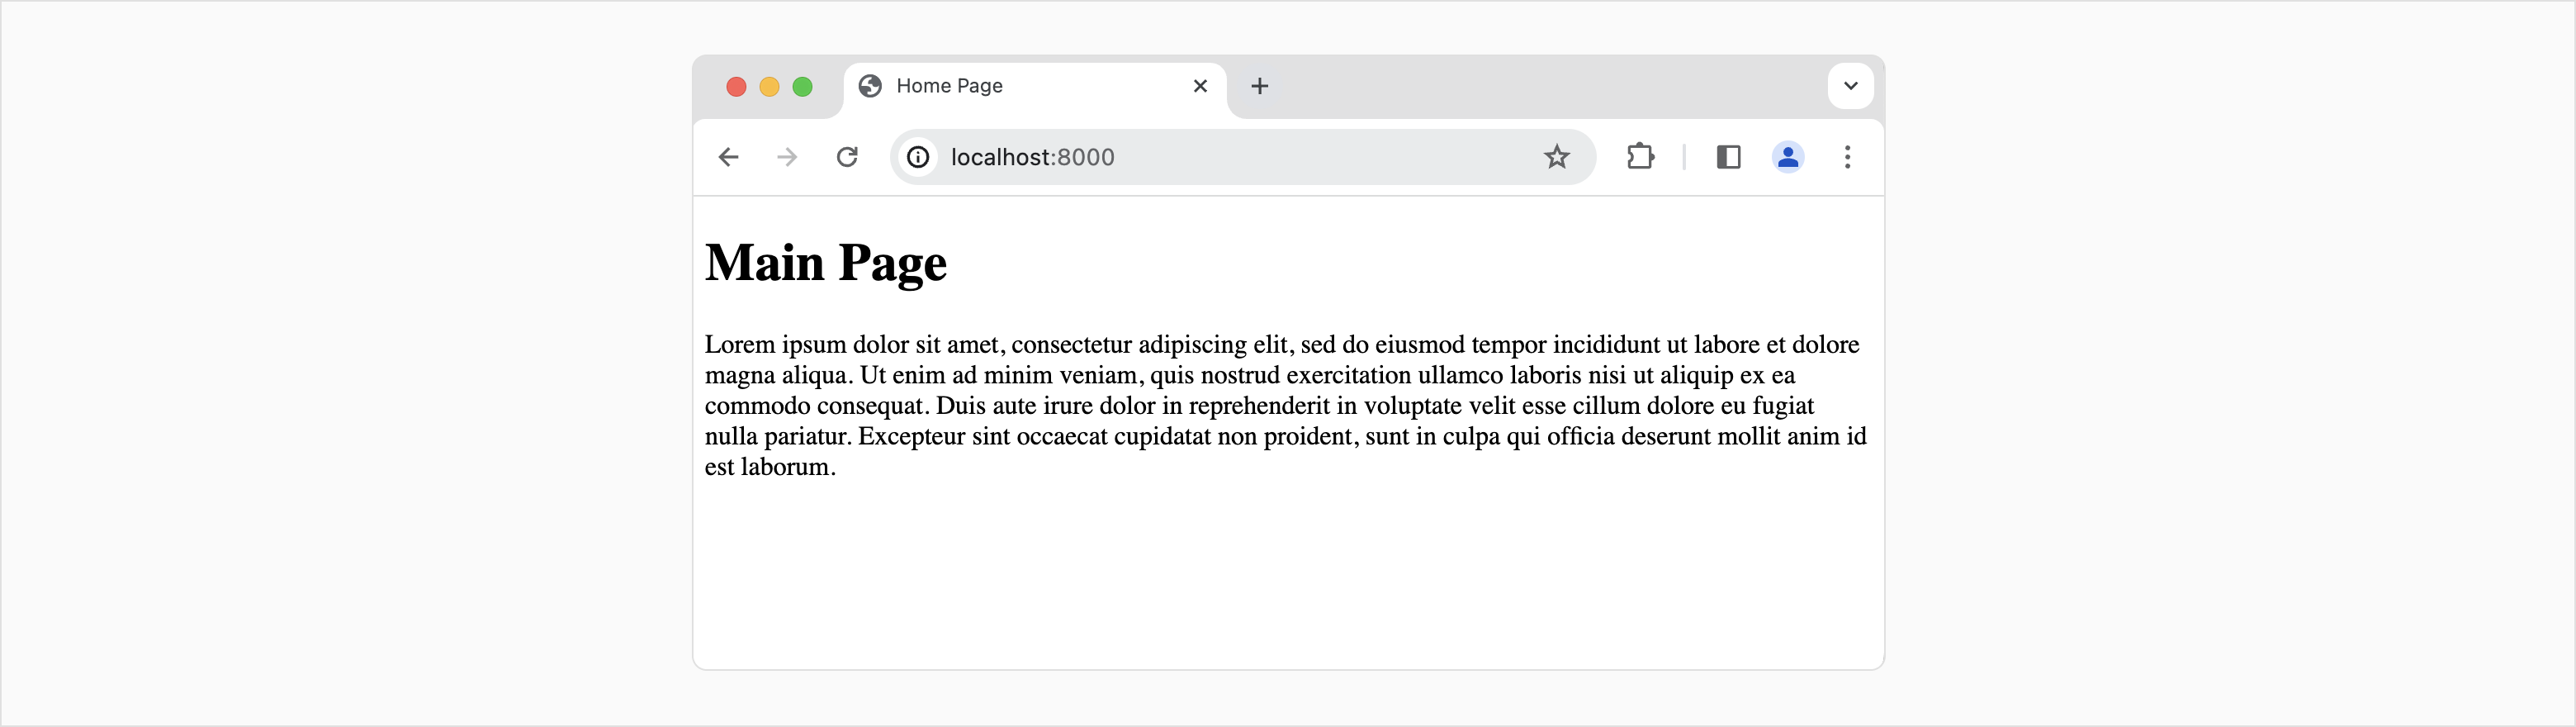
};Save your changes. Your page should be rendered as follows:
3. (Optional) Use Server-Side Rendering with Netlify
Gatsby integrates with Netlify — a cloud platform for web applications. Platforms like Netlify allow you to render Gatsby pages on the server.
You can connect a GitHub repository with a Gatsby website to your Netlify account. Netlify will deploy the website and update it each time you push changes to your repository.
- Create a new GitHub repository.
- Push the contents of your local Gatsby repo to GitHub.
- Sign up for Netlify (you can use your GitHub account).
- Import your GitHub repository from Netlify and deploy your website (see this tutorial).
Let's now check whether server-side rendering works as expected. Disable JavaScript in your browser and reload the page.
If using a development server, Gatsby renders its content on the client. When you disable JavaScript, the page is blank:

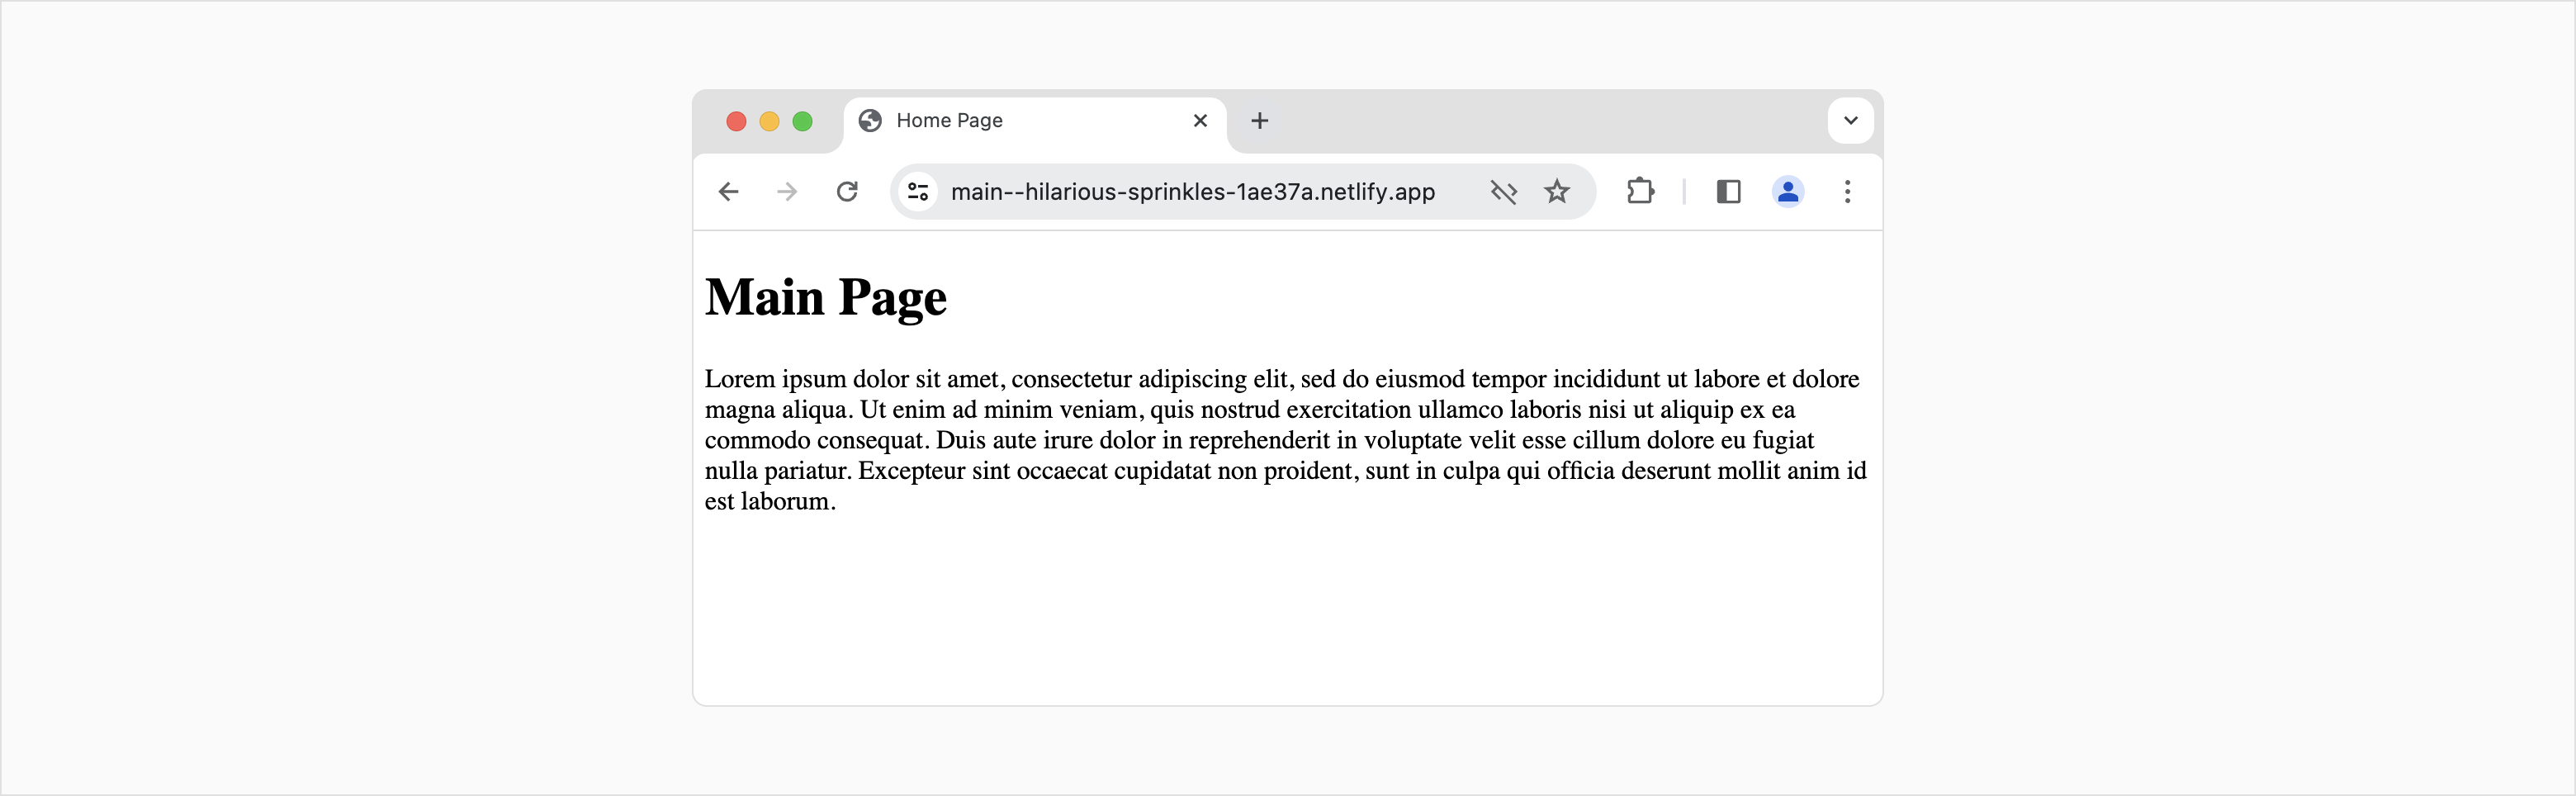
If using Netlify, Gatsby renders your content on the server (you can view content):
4. Add DevExtreme to the Website
We're ready to add the DevExtreme DataGrid to our application. First, add DevExtreme to your project dependencies:
"dependencies": {
    "devextreme": "^23.1.3",
    "devextreme-react": "^23.1.3",
    "gatsby-plugin-manifest": "^5.11.0",
    <...>
}
Run npm install to install new dependencies. When installation is complete, add a DataGrid component to the index page:
import * as React from "react";
import type { HeadFC, PageProps } from "gatsby";
import DataGrid, { Column, Pager, Paging } from 'devextreme-react/data-grid';
import ODataStore from 'devextreme/data/odata/store';

const pageSizes = [10, 25, 50, 100];

const dataSourceOptions = {
  store: new ODataStore({
    url: 'https://js.devexpress.com/Demos/SalesViewer/odata/DaySaleDtoes',
    key: 'Id',
    version: 2,
    beforeSend(request) {
      const year = new Date().getFullYear() - 1;
      request.params.startDate = `${year}-05-10`;
      request.params.endDate = `${year}-5-15`;
    },
  }),
};

const DemoGrid: React.FC = () => {
  return (<>
      <DataGrid
          dataSource={dataSourceOptions}
          allowColumnReordering={true}
          rowAlternationEnabled={true}
          showBorders={true}
      >
          <Column
              dataField="Product" />
          <Column
              dataField="Amount"
              caption="Sale Amount"
              dataType="number"
              format="currency"
              alignment="right"
          />
          <Column
              dataField="Discount"
              caption="Discount %"
              dataType="number"
              format="percent"
              alignment="right"
              allowGrouping={false}
              cssClass="bullet"
          />
          <Column dataField="SaleDate"
              dataType="date"
          />
          <Column dataField="Region"
              dataType="string"
          />
          <Column dataField="Sector"
              dataType="string"
          />
          <Column dataField="Channel"
              dataType="string"
          />
          <Column dataField="Customer"
              dataType="string"
              width={150}
          />
          <Pager
              allowedPageSizes={pageSizes}
              showPageSizeSelector={true}
          />
          <Paging defaultPageSize={10} />
      </DataGrid>
    </>
  );
}
const IndexPage: React.FC<PageProps> = () => {
    return (
        <main>
            <h1>Main Page</h1>
            <p>
                Lorem ipsum dolor sit amet, consectetur adipiscing elit, sed do eiusmod tempor incididunt
                ut labore et dolore magna aliqua. Ut enim ad minim veniam, quis nostrud exercitation ullamco
                laboris nisi ut aliquip ex ea commodo consequat. Duis aute irure dolor in reprehenderit in
                voluptate velit esse cillum dolore eu fugiat nulla pariatur. Excepteur sint occaecat cupidatat
                non proident, sunt in culpa qui officia deserunt mollit anim id est laborum.
            </p>
            <DemoGrid />
        </main>
    )
}
export default IndexPage
export const Head: HeadFC = () => {
    return (
        <>
            <title>Home Page</title>
        </>
    )
};
Refresh the page to view results:
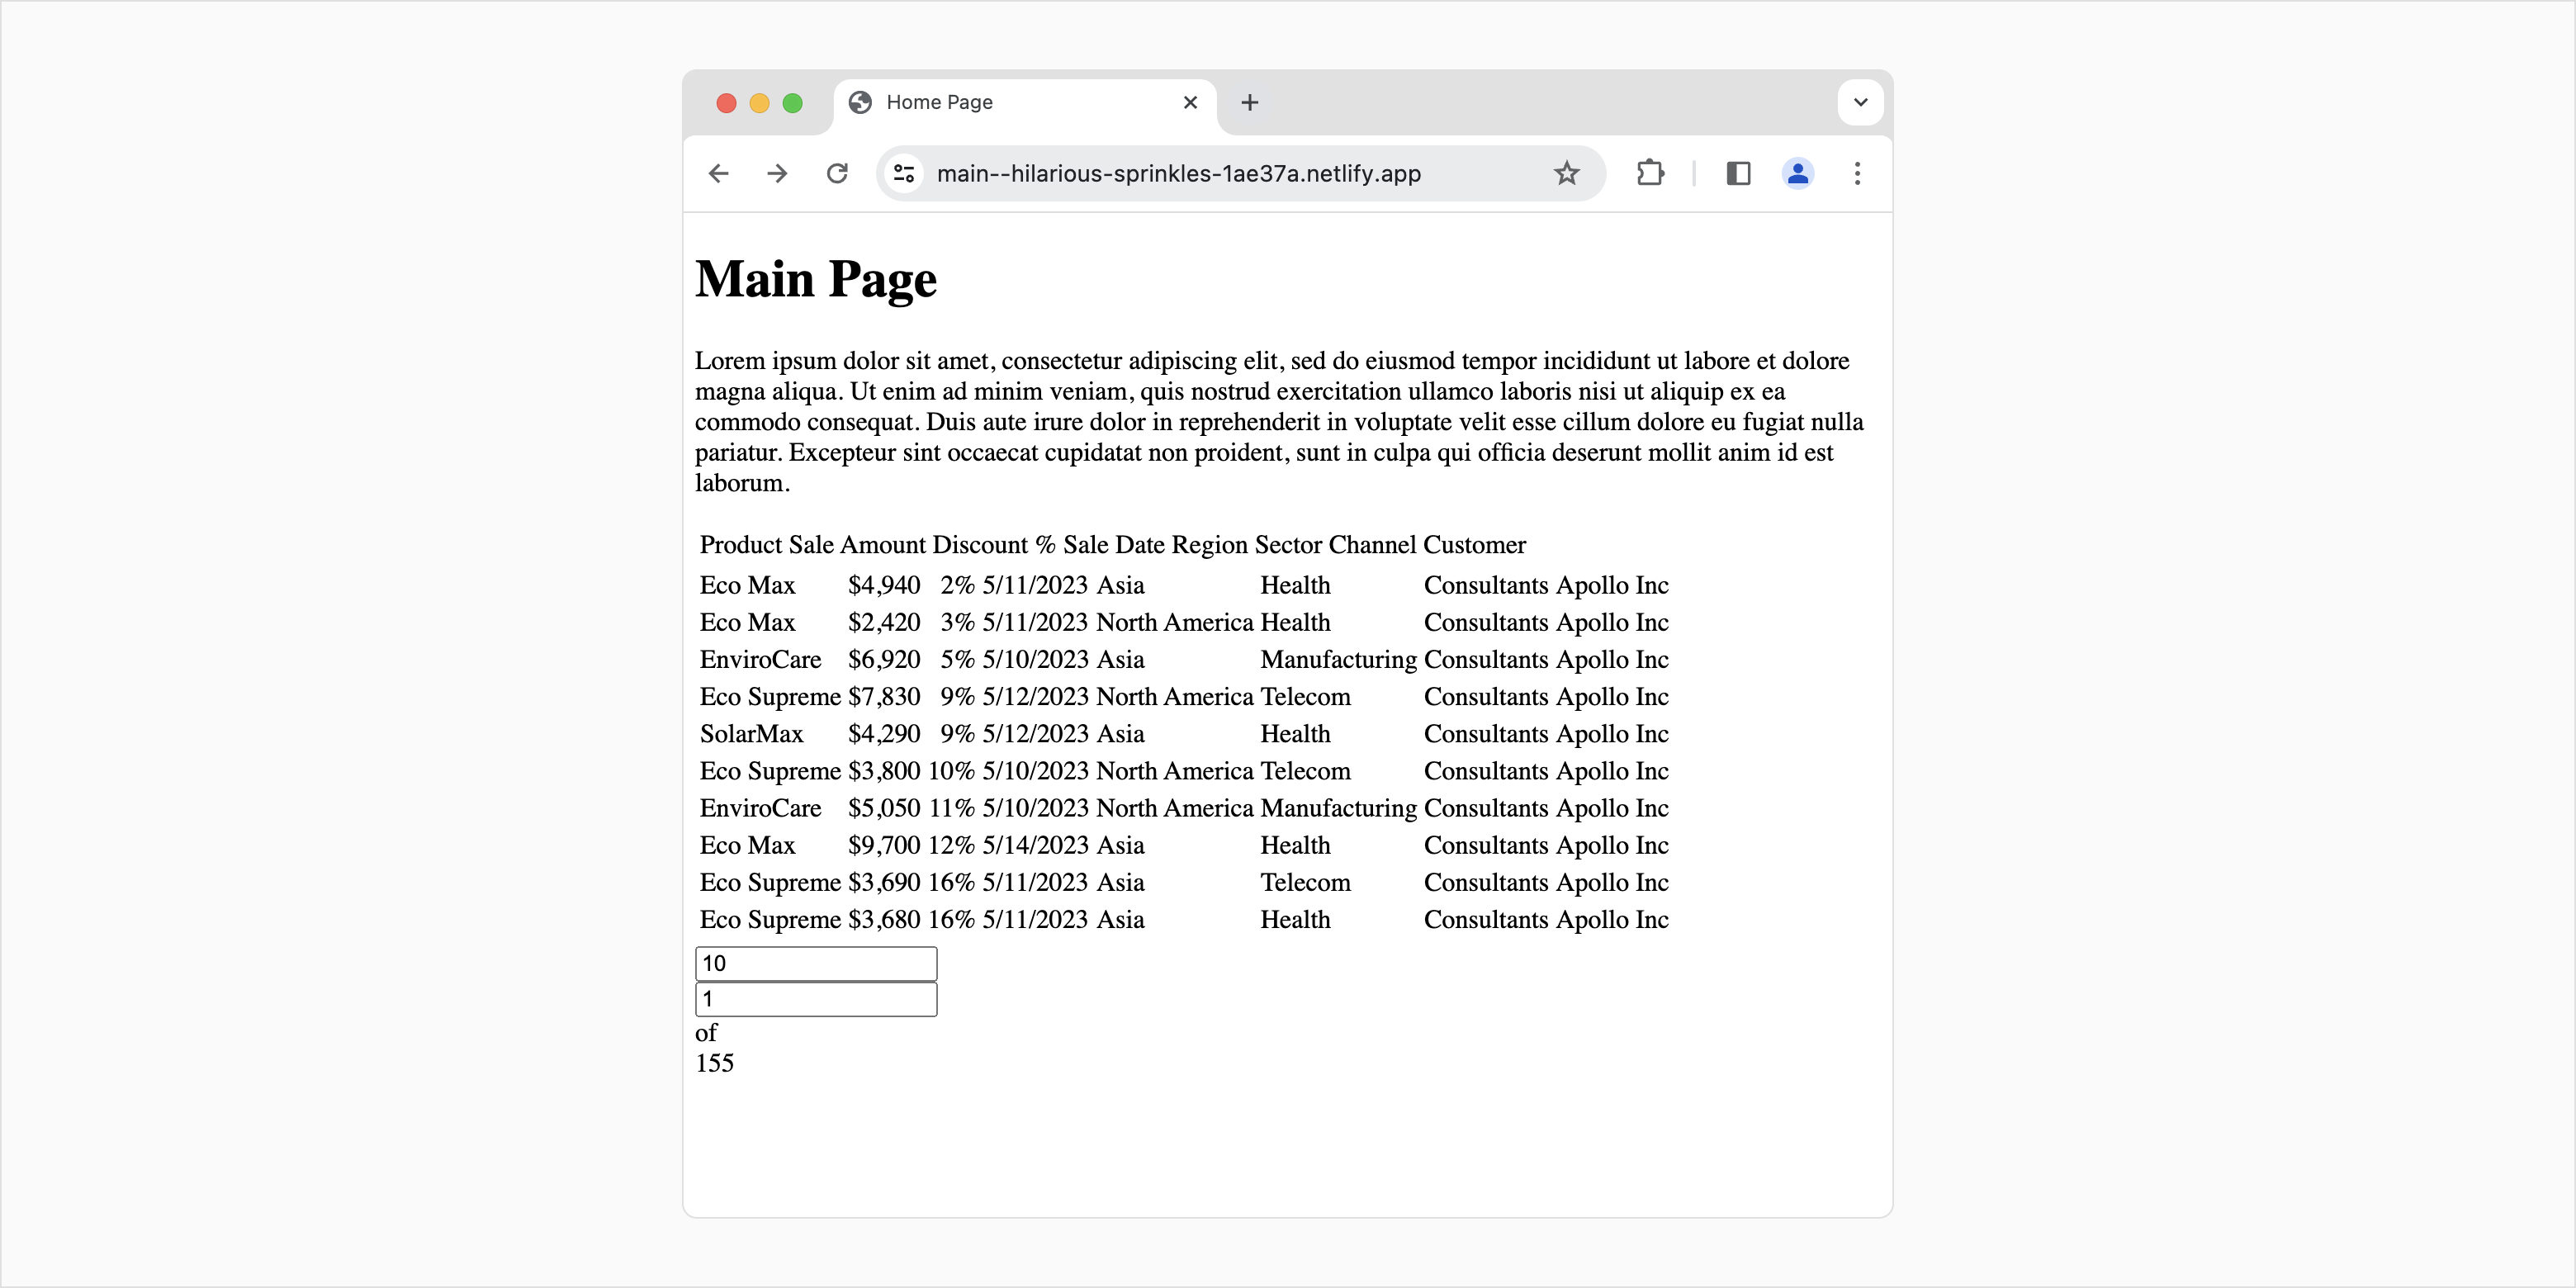
5. Apply a DevExtreme Theme
As you can see in the screenshot above, the website displays the DevExtreme Grid but does not style it appropriately. To style our data grid using DevExtreme theme you can:
- Apply a DevExtreme Theme to the entire application. This approach works best when your app includes DevExtreme UI components across most pages (by using this approach, the overall load time of your application may increase).
- Apply a DevExtreme Theme on a per-page basis. This approach works best if DevExtreme UI components are used sparingly throughout the website (on a few pages).
Apply a Theme to the Entire Website
To apply a single DevExtreme theme to your website, add a file named gatsby-browser.js to the root folder of your project.
Add the following import statement to the file:
import 'devextreme/dist/css/dx.light.css';
This statement applies the light theme to the DevExtreme DataGrid.
Restart the Gatsby server to compile new assets. The DevExtreme Data Grid will be rendered as follows:
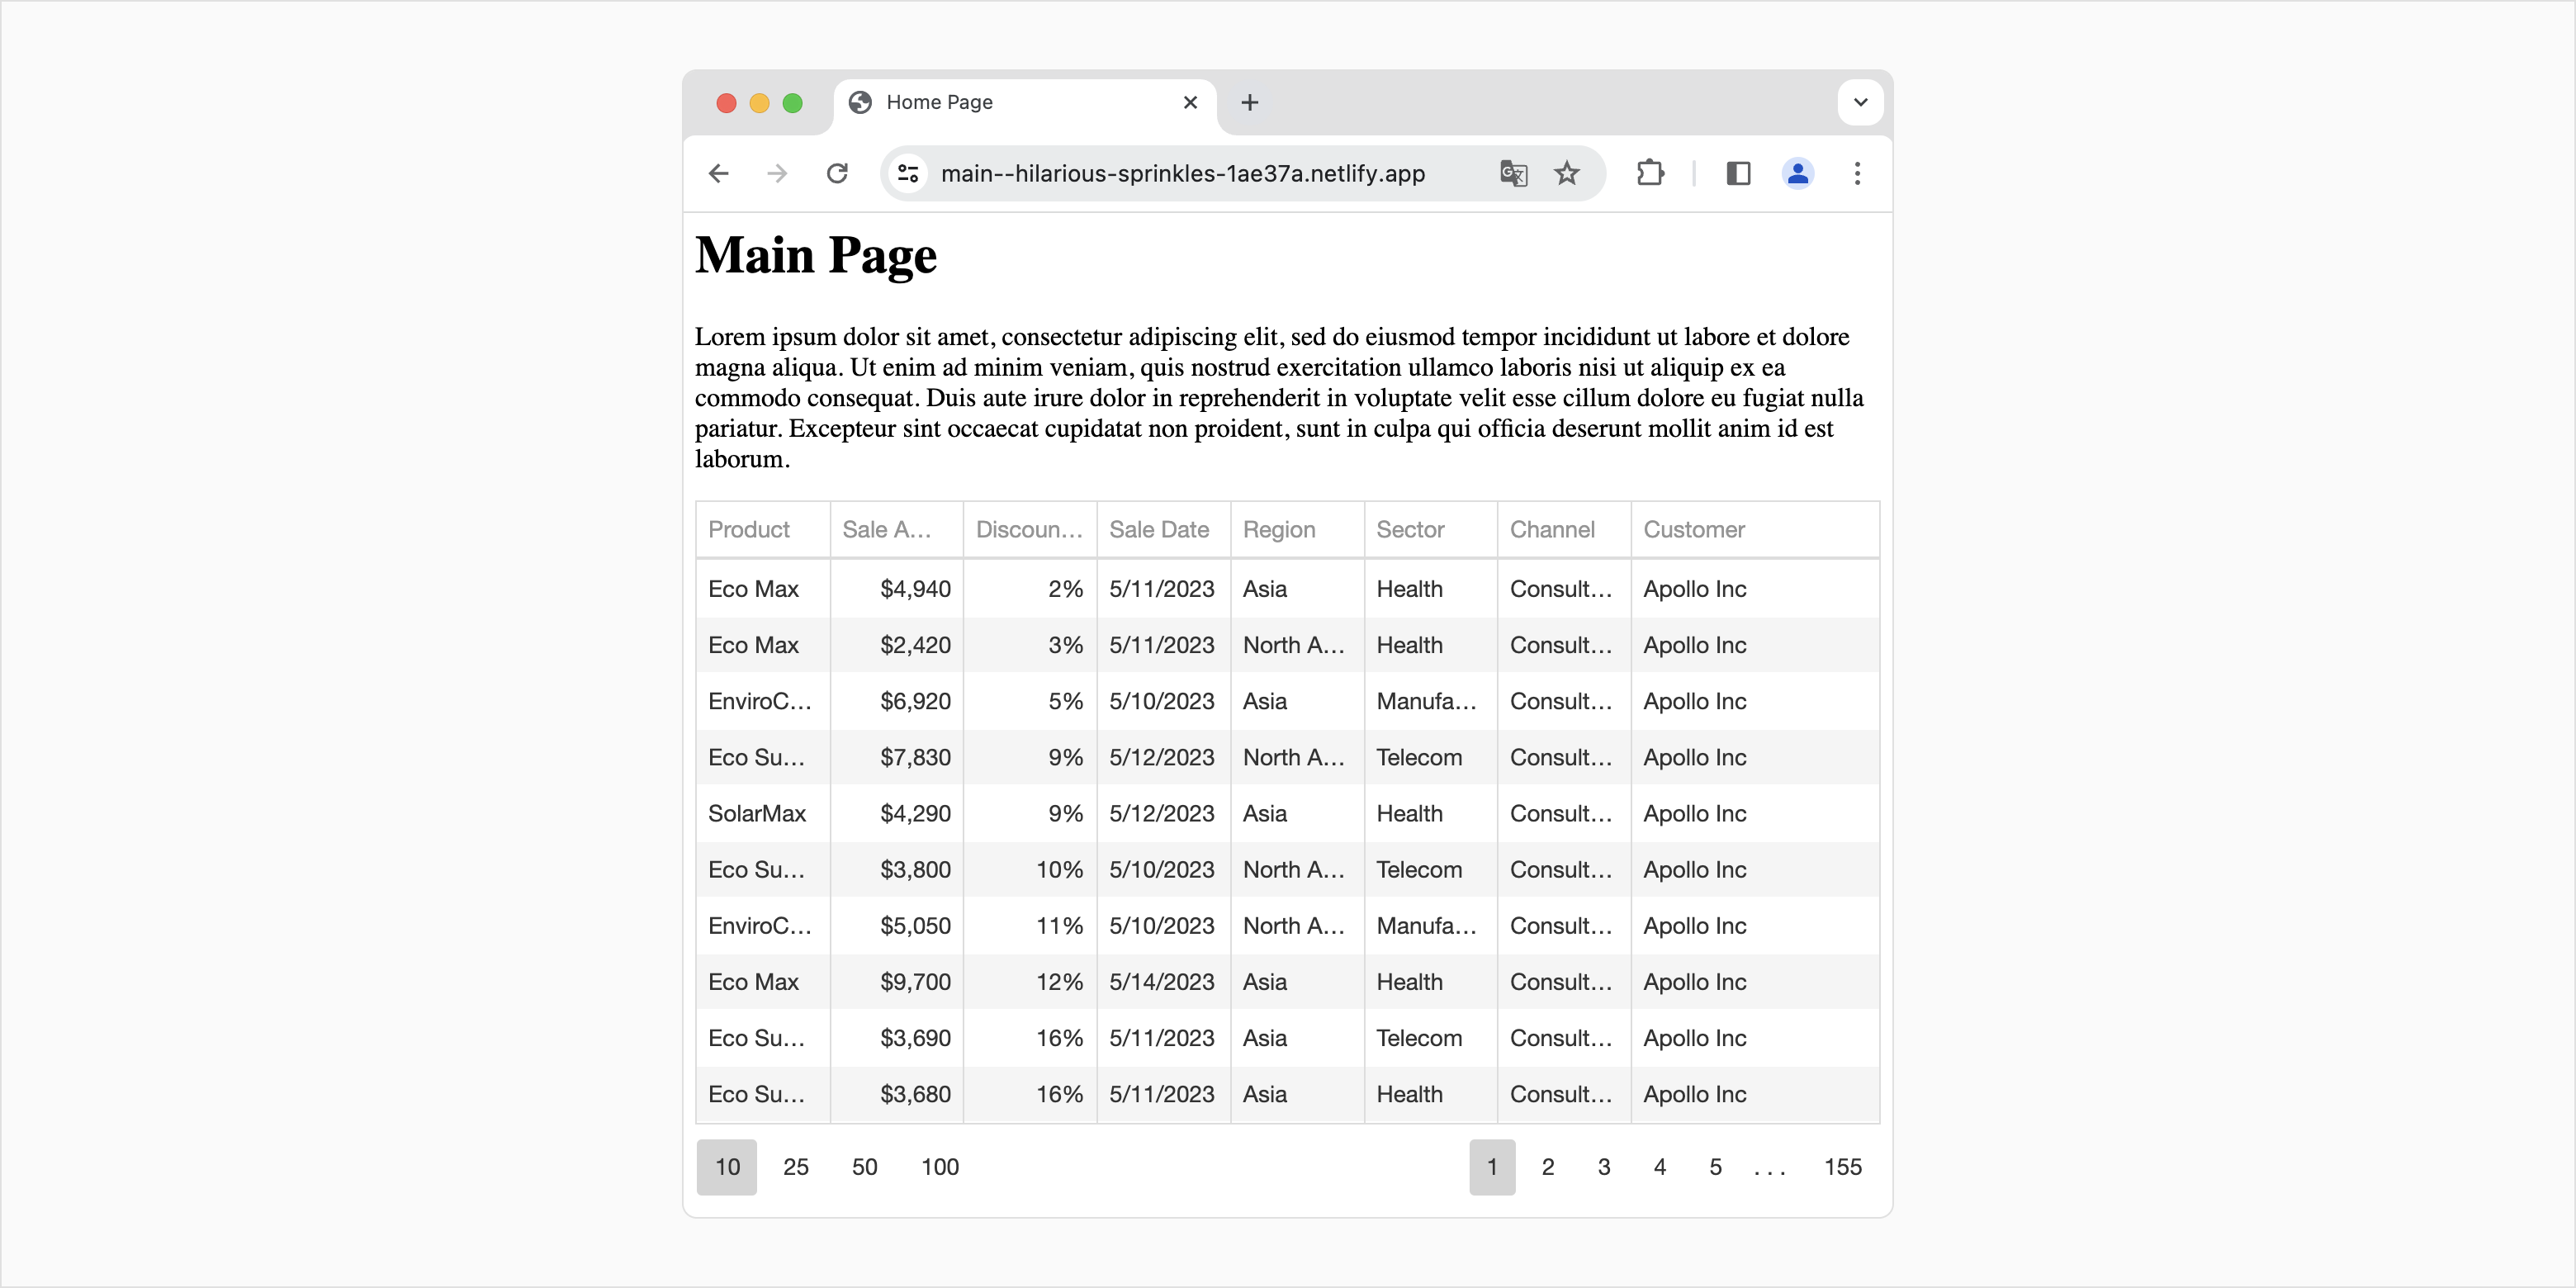
Apply a Theme to a Specific Page
To apply a DevExtreme theme to a specific page, do not import the theme globally. Instead, add a link to the Head of the target page:
export const Head: HeadFC = () =>
{
    return (
        <>
          <link rel="stylesheet" type="text/css" href="https://cdn3.devexpress.com/jslib/23.1.3/css/dx.light.css" />
          <title>Home Page</title>
        </>
    )
};
This link downloads the DevExtreme light theme from the DevExpress CDN and applies it to the page. If you need to insert this code into multiple pages, save it as a separate component.
Modify the name of the stylesheet to apply a different theme. Modify the name of the subfolder (23.1.3) to apply a theme that is compatible with a different version of DevExtreme.
6. Next Steps
DevExtreme UI components are intuitive, easy to use, and fully compatible with Gatsby. Review our application templates and demos to explore the capabilities of DevExtreme UI components at your own pace.
For additional information on the Gatsby framework, refer to the following external webpage: Welcome to the Gatsby Way of Building | Gatsby (gatsbyjs.com).

 Select one or more answers