DevExtreme React - Bind DevExtreme components to GraphQL
What is GraphQL?
GraphQL is a trending API query language and data processing layer. Facebook engineers created GraphQL because REST APIs did not meet their performance requirements.
Modern websites need to display large amounts of data from more than one source. To get this data from a REST API, applications have to issue multiple network requests. Each request takes time to resolve, which slows the application down. If you do not optimize your SQL queries, API responses may include unnecessary data. The application wastes time loading data users do not get to see.
GraphQL is an intermediary layer that takes a single API request, and responds to it with data from multiple sources. It allows you to get very specific, and does not include unnecessary data in its responses. You can replace your REST API with GraphQL, or use GraphQL alongside your REST API.
Follow this tutorial to try GraphQL for yourself.
Project overview
This project consists of a client and a server.
The client is a Vite/React Node.js application that displays a DevExtreme DataGrid. The server is an Express.js app that uses a GraphQL API to serve JSON data.
The source code for this project is available on GitHub.
Step 1: First steps and global dependencies
Initialize a Node.js project inside a new folder:
mkdir graphql-tutorial
cd graphql-tutorial
npm init
Install project dependencies:
npm i express cors graphql-http graphql nodemon
Copy the
datafolder from the project repository to your local project.The folder contains three
.jsonfiles with static data. Our GraphQL server will use these files as its data sources.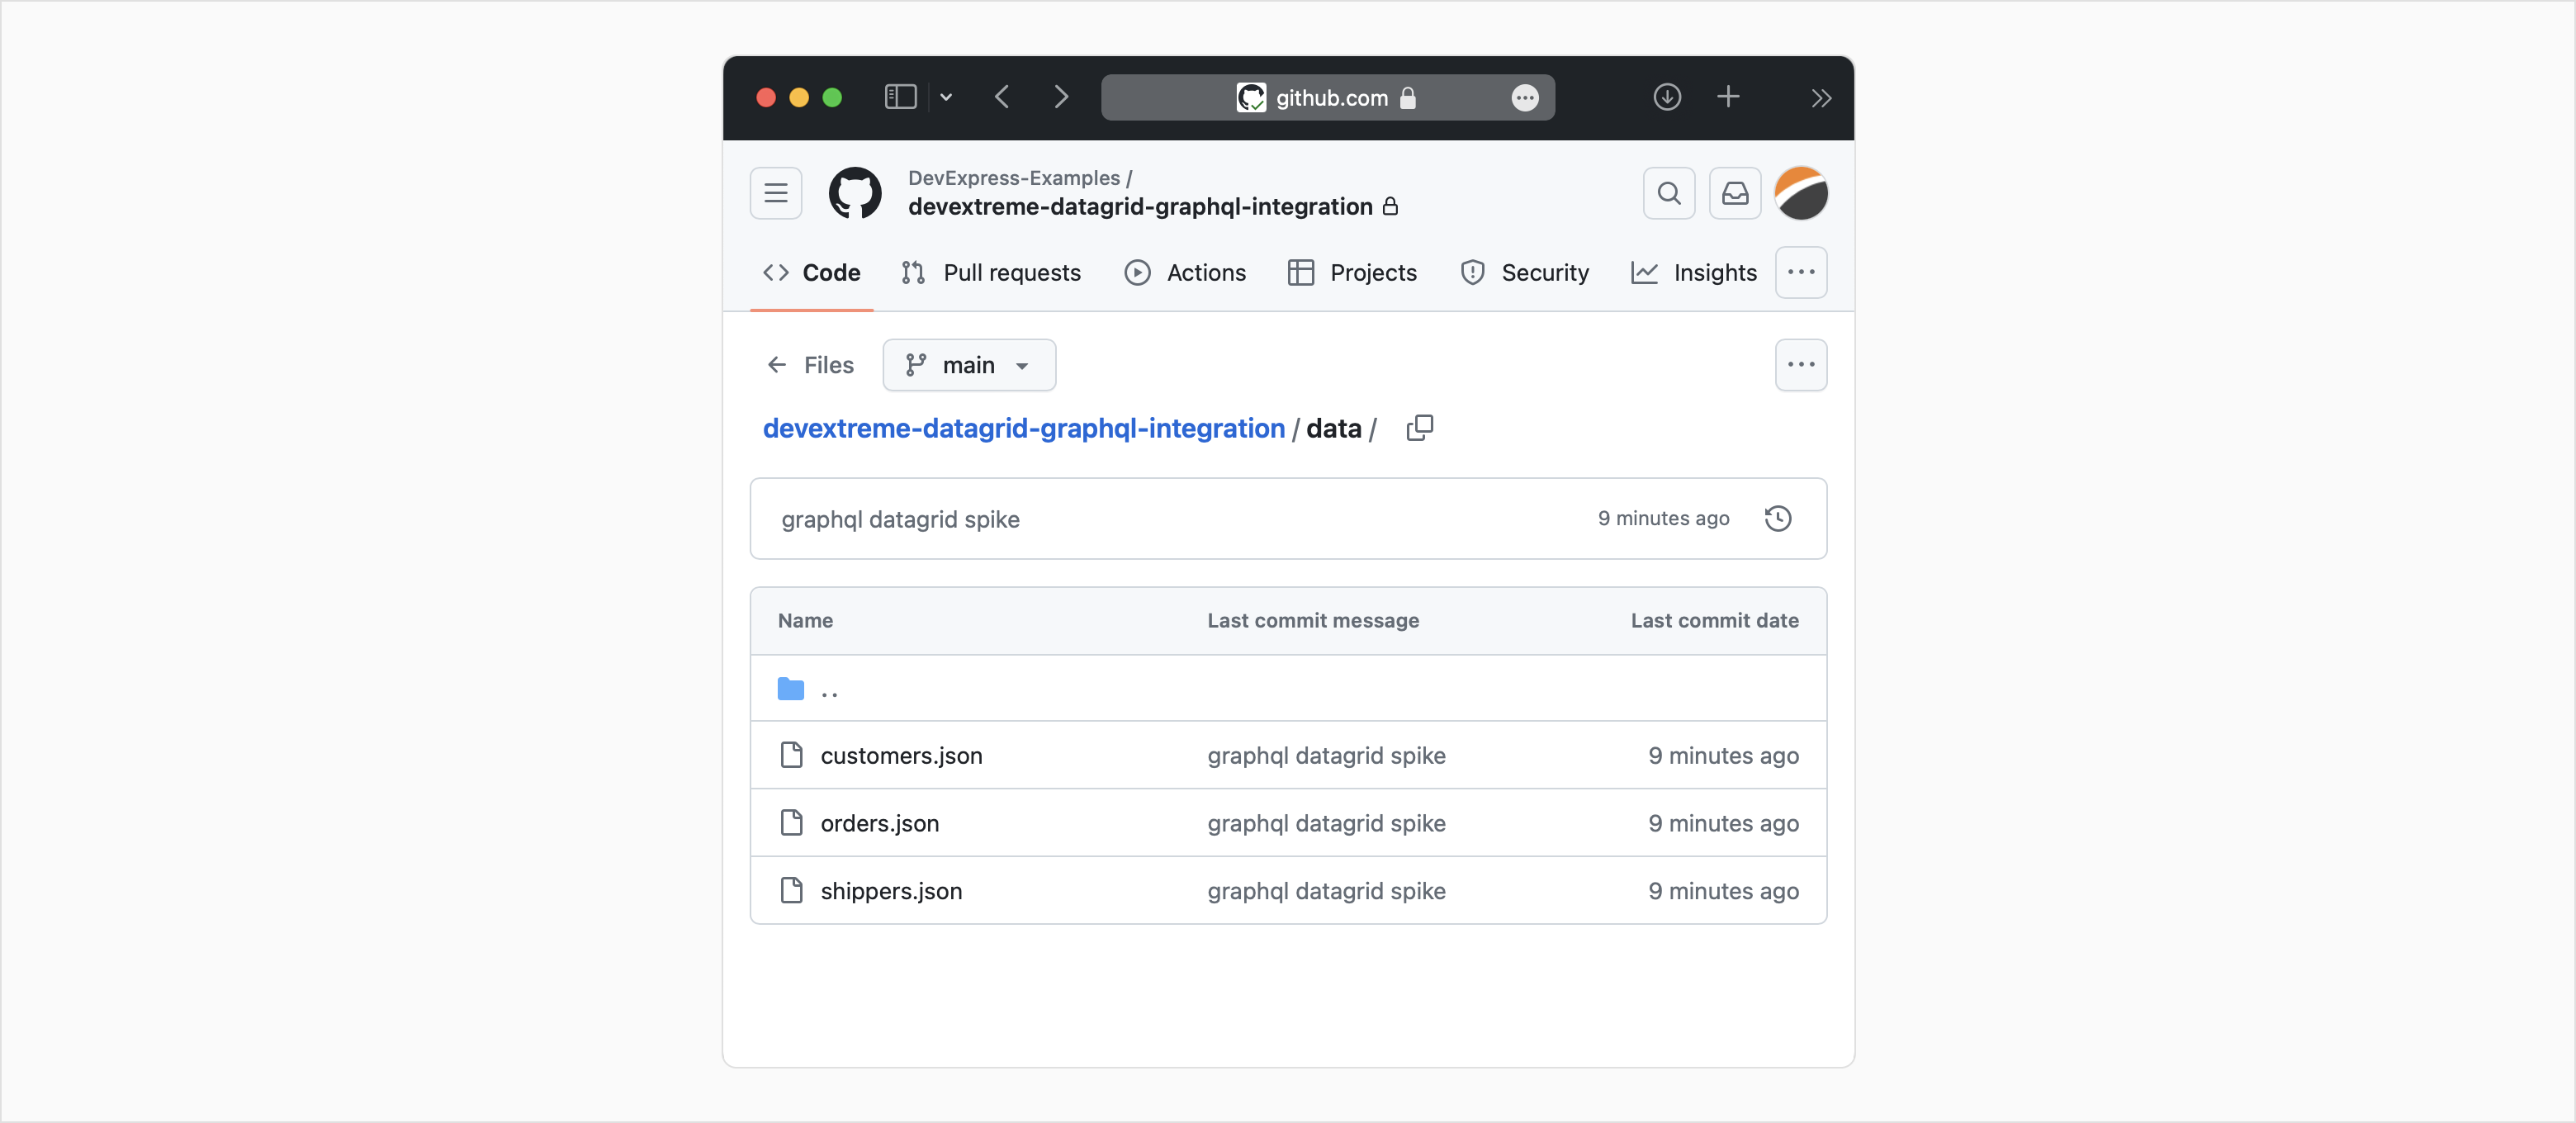
Step 2: Client set-up
The project's client side is a simple Vite application that displays a DevExtreme DataGrid.
Create a
clientsubfolder:mkdir client cd client
Run the following command to create a new Vite project inside the folder:
npm create vite@latest
Follow the wizard's instructions to create a React / TypeScript application named
vite-react:
Open the folder, and install the necessary dependencies for the Vite app:
cd vite-react
npm i @apollo/client devextreme devextreme-react graphql loadsh whatwg-fetch
Copy the code from the DataGrid CRUD demo to your Vite application.
(Optional) Launch the application to confirm that it works:
npm run dev

Step 3: Server set-up
Go back to the root folder of your project, and create a
serversubfolder:mkdir server cd server
Create an
App.jsfile inside the new folder.Populate it with the following code that initializes an Express.js server and enables the use of GraphQL.
App.jsconst express = require('express'); const cors = require('cors'); const { createHandler } = require('graphql-http/lib/use/express'); // Enables the use of GraphQL const OrdersSchema = require('../schema/orders-schema'); const app = express(); // Initializes the Express.js server const PORT = 3005; app.use(cors()); app.use('/Orders', createHandler({ schema: OrdersSchema, graphiql: true })) app.listen(PORT, err => { err ? console.log(err) : console.log('server started!') })NOTEThis example uses the graphql-http package to implement a GraphQL API. There are other ways to use GraphQL with Express.js. See the official GraphQL tutorial for more information.GraphQL needs a schema file to understand the data that it serves.
Our data lives in plain JSON files within the
datafolder. It describes the following entities: orders, customers, and shipping companies. We need to describe these data structures within theschema/orders-schema.jsfile.Additionally, the schema file describes possible data interactions ("mutations"). We want to allow for three types of interactions: Insertions, Deletions, and Updating.
Create the
schema/orders-schema.jsfile with the following content:orders-schema.jsconst graphql = require('graphql'); const orders = require('../data/orders.json').data; const customers = require('../data/customers.json').data; const shippers = require('../data/shippers.json').data; const { GraphQLObjectType, GraphQLString, GraphQLSchema, GraphQLID, GraphQLInt, GraphQLFloat, GraphQLList } = graphql; const OrderType = new GraphQLObjectType({ name: `Order`, fields: () => ({ OrderID: { type: GraphQLID }, CustomerID: { type: GraphQLString }, EmployeeID: { type: GraphQLID }, OrderDate: { type: GraphQLString }, RequiredDate: { type: GraphQLString }, ShippedDate: { type: GraphQLString }, ShipVia: { type: GraphQLInt }, Freight: { type: GraphQLFloat }, ShipName: { type: GraphQLString }, ShipAddress: { type: GraphQLString }, ShipCity: { type: GraphQLString }, ShipRegion: { type: GraphQLString }, ShipPostalCode: { type: GraphQLString }, ShipCountry: { type: GraphQLString }, Customer: { type: GraphQLString }, Employee: { type: GraphQLString }, Shipper: { type: GraphQLString } }) }) const CustomerType = new GraphQLObjectType({ name: `Customer`, fields: () => ({ Value: { type: GraphQLString }, Text: { type: GraphQLString }, }) }) const ShipperType = new GraphQLObjectType({ name: `Shipper`, fields: () => ({ Value: { type: GraphQLInt }, Text: { type: GraphQLString }, }) }) const Query = new GraphQLObjectType({ name: `Query`, fields: { Orders: { type: new GraphQLList(OrderType), resolve(parent, args) { return orders; } }, Customers: { type: new GraphQLList(CustomerType), resolve(parent, args) { return customers; } }, Shippers: { type: new GraphQLList(ShipperType), resolve(parent, args) { return shippers; } } } }); const Mutation = new GraphQLObjectType({ name: `Mutation`, fields: { InsertOrder: { type: OrderType, args: ({ CustomerID: { type: GraphQLString }, OrderDate: { type: GraphQLString }, Freight: { type: GraphQLFloat }, ShipCountry: { type: GraphQLString }, ShipVia: { type: GraphQLInt } }), resolve(parent, args) { const newOrderID = Math.max(...orders.map(order => order.OrderID)) + 1; const newOrder = { OrderID: newOrderID, ...args } orders.push(newOrder); return orders[orders.length - 1]; } }, DeleteOrder: { type: OrderType, args: ({ OrderID: { type: GraphQLID } }), resolve(parent, args) { const index = orders.findIndex(order => order.OrderID == args.OrderID); return orders.splice(index, 1); } }, UpdateOrder: { type: OrderType, args: ({ OrderID: { type: GraphQLID }, CustomerID: { type: GraphQLString }, OrderDate: { type: GraphQLString }, Freight: { type: GraphQLFloat }, ShipCountry: { type: GraphQLString }, ShipVia: { type: GraphQLInt } }), resolve(parent, args) { const index = orders.findIndex(order => order.OrderID == args.OrderID); const oldOrder = orders[index]; const newOrder = { ...oldOrder, ...args } orders.splice(index, 1, newOrder) return newOrder; } } } }) module.exports = new GraphQLSchema({ query: Query, mutation: Mutation, });
Step 4: Connect the frontend to the backend
The @apollo/client library enables us to use GraphQL on the client.
Import the following objects from the library into the App.tsx file of your Vite project:
import { gql, useApolloClient, useMutation } from '@apollo/client';The gql object allows you to form GraphQL queries. The useMutation function allows you to map these queries to GraphQL mutations.
If you have difficulties with this section, read the Apollo documentation for a full overview of the library's data flow. Consult the source code of the tutorial repository to view the solution in full.
Create a GraphQL query template for each data type:
App.tsxconst CustomersQuery = gql` query{ Customers { Value, Text } }`;Create a GraphQL query template for each mutation type:
App.tsxconst InsertOrderMutation = gql` mutation($CustomerID: String, $OrderDate: String, $Freight: Float, $ShipCountry: String, $ShipVia: Int){ InsertOrder(CustomerID: $CustomerID, OrderDate: $OrderDate, Freight: $Freight, ShipCountry: $ShipCountry, ShipVia: $ShipVia){ OrderID, CustomerID, OrderDate, Freight, ShipCountry, ShipVia } }`Within the main function, enable Apollo and import these mutation queries:
App.tsxexport default function App() { const appoloClient = useApolloClient(); const [InsertOrder] = useMutation(InsertOrderMutation); <...> }Modify the application's
ordersDataCustomStore to work with GraphQL. Define custom CRUD handlers for our mutations:App.tsxload: () => sendRequest(`Orders`).then(data => _.cloneDeep(data)), // The .cloneDeep function creates a mutable copy of our data insert: (values) => sendRequest(`InsertOrder`, { values, }), update: (key, values) => sendRequest(`UpdateOrder`, { key, values, }), remove: (key) => sendRequest(`DeleteOrder`, { key, }),Enclose these queries in a conditional
switchstatement to improve readability:App.tsxconst sendRequest = (query: string, data: KeyValues = {}) => { switch (query) { case 'Orders': return appoloClient.query({query: OrdersQuery}).then(response => response.data.Orders); case 'Customers': return appoloClient.query({query: CustomersQuery}).then(response => response.data.Customers); case 'Shippers': return appoloClient.query({query: ShippersQuery}).then(response => response.data.Shippers); case 'InsertOrder': return InsertOrder({variables: data.values}).then(res => res.data.InsertOrder); case 'DeleteOrder': return DeleteOrder({variables: { OrderID: data.key }}); case 'UpdateOrder': return UpdateOrder({variables: { OrderID: data.key, ...data.values }}).then(res => res.data.UpdateOrder); default: return appoloClient.query({query: OrdersQuery}).then(response => response.data.Orders); } }NOTECustomStore data needs to stay in sync with GraphQL. Make sure that mutation functions return their results.The DataGrid's look-up columns require separate CustomStore data sources:
App.tsxconst [customersData] = useState(new CustomStore({ key: 'Value', loadMode: 'raw', load: () => sendRequest(`Customers`), })); const [shippersData] = useState(new CustomStore({ key: 'Value', loadMode: 'raw', load: () => sendRequest(`Shippers`), }));You can apply the same strategy for every DevExtreme component that supports custom data stores.

 Select one or more answers