Add
To add resources DevExtreme ASP.NET MVC Controls require to your project, follow these steps:
Open your project in Visual Studio. See Environment and Requirements for information on supported Visual Studio versions.
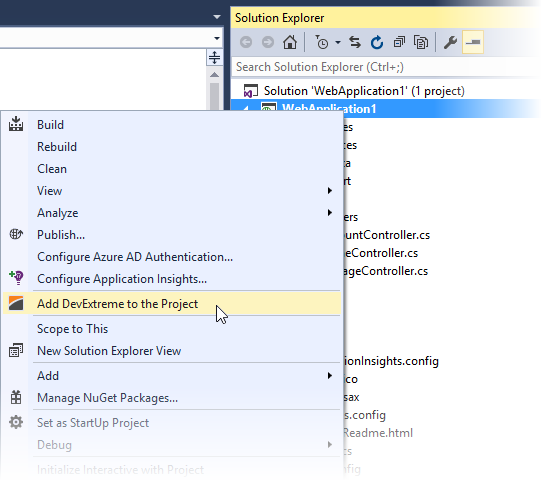
Right-click your project in the Solution Explorer window and select Add DevExtreme to the Project on the menu.
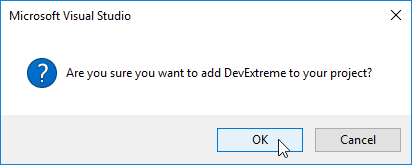
In the invoked dialog box, click OK.
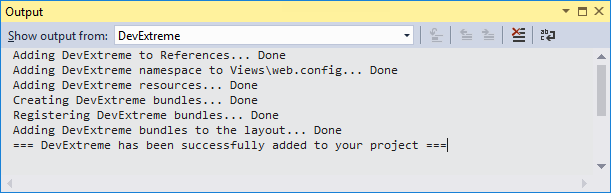
Wait a few seconds while DevExtreme and its dependencies are being added. This process is logged in the Output window.
ASP.NET Core MVC only. Follow the instructions from the DevExtremeConversion_Readme.html file.
Now DevExtreme ASP.NET MVC Controls are set up for your project. If any issues appear during the process, address them by following the messages in the Output window. After that, repeat the steps above starting with step 2.
See Also
Upgrade
Similarly, you can upgrade the resources in your project after installing DevExtreme of a higher version. Below are the steps for you to follow.
Launch Visual Studio and open the project that contains DevExtreme resources to be upgraded.
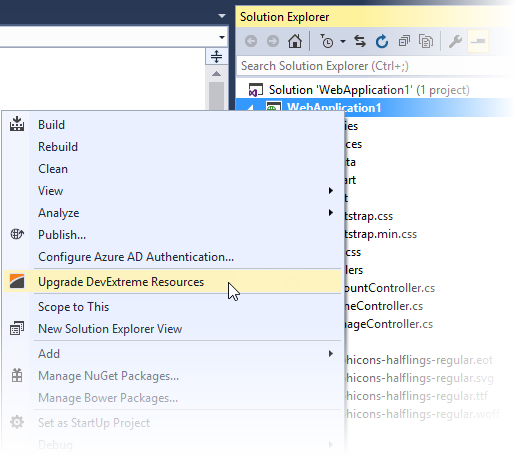
Right-click this project in the Solution Explorer window and select Upgrade DevExtreme Resources on the menu.
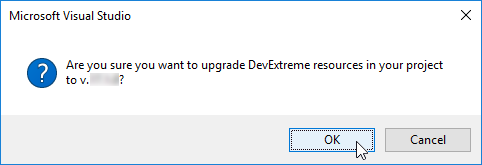
In the appeared dialog box, click OK.
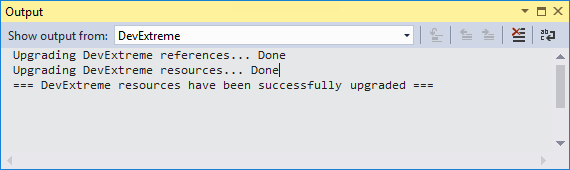
Wait a few seconds while DevExtreme resources are being upgraded. The log of this process is available in the Output window.
See Also
If you have technical questions, please create a support ticket in the DevExpress Support Center.